
TLDR
Convert your Cypress, Playwright, or Selenium tests into Thunders test cases with an AI coding assistant, no rewrite required.
The migration problem
Moving off Cypress, Playwright, or Selenium usually means rewriting everything from scratch. Hundreds of tests, weeks of work, and a frozen suite while you migrate. Most teams never make the switch for this reason alone.
You can skip the rewrite. Point an AI coding assistant (Claude, ChatGPT, Cursor, GitHub Copilot…) at your repo and let it convert your tests into Thunders test cases. The AI reads the code of the existing tests, understands the structure, and produces human-readable steps you can run immediately.
This guide walks through a concrete example using Claude connected to GitHub to import a set of Cypress tests. We'll pull the test files, parse the describe and it blocks, translate the commands into steps, and create Thunders test cases ready to run. The same pattern works for Playwright and Selenium: we'll note the adjustments needed for those frameworks along the way.
Step-by-step guide
1. Create a project in Thunders and get the project ID
Go to your Thunders organisation, create a new project, and copy the project ID. You'll need this ID in Step 5.
2. Copy your APP URL variable from Thunders
Go to the Apps menu, click on your web app, then copy the APP URL variable. This is the base URL we'll prepend to any relative path found in your tests (for example, /login becomes https://yourapp.com/login). You'll need this ID in Step 5.
![Thunders Web app details panel showing the App URL variable [APP_WEB_URL], which resolves to the app URL for the selected environment, with Web App selected as the app type](https://cdn.prod.website-files.com/691f107d602d90cefac170ef/6abcd5e1e22dcd746a394165_2.%20Copy%20your%20APP%20URL%20variable%20from%20Thunders.webp)
3. Connect your AI to GitHub and Thunders
This flow uses two MCP servers: GitHub (to read your test files) and Thunders (to create the test cases). Add both.
In Claude, go to Settings → Connectors → Add custom connector and add:
- GitHub: enter the GitHub MCP server URL. You'll need a GitHub Personal Access Token (PAT) for authentication.
- Thunders: enter your Thunders MCP server URL (
https://api.thunders.ai/v1/mcp) and authenticate with your Thunders account. More details here.
Once connected, both connectors will appear in your available tools.
This guide uses Claude; the same approach works with any AI that supports MCP connectors.
4. Read your test files
Open a new Claude session, click the Add content button (the plus icon), and select Add from GitHub to browse your connected repository. Navigate to your test folder, typically e2e/, cypress/, or tests/, and select all the relevant test files. This step is optional but helps Claude anchor on the exact folder up front. The prompt in Step 5 will still use the GitHub MCP connector to read and list the files, so you can skip this and simply point Claude to the folder path in your prompt.
5. Run the import prompt
Copy and run the prompt below, replacing <PROJECT_ID> with your Thunders project ID and <APP_URL> with your app url variable. For Playwright or Selenium, also swap "Cypress commands" and "describe / it blocks" for your framework's equivalents, and adjust the file glob on line one (for example *.spec.js, *.test.ts).
Prompt:
You have two MCP servers available: GitHub (to read my repo) and Thunders (to create test cases).Using the GitHub MCP, list all Cypress test files matching *.spec.ts in the given folder.For each file:
1. Read the file content.
2. Parse every suite/test (describe / it blocks).
3. For each `it` test case:
a. Translate the Cypress commands, in order, into clear human-readable step instructions (one action per step, e.g. "Click the Login button", "Type '[email protected]' into the Email field", "Check that the page title is 'Dashboard'"). Keep assertions as explicit verification steps.
b. For any relative URL, prepend the variable <APP_URL> exactly as written (e.g. "/tool/calculator" becomes "<APP_URL>/tool/calculator"). Leave absolute URLs unchanged.
c. Write a short, descriptive title based on what the test verifies.
d. Call `create_test_case` with that title as `name` and projectId <PROJECT_ID>.
Capture the returned test case id.
e. Call `generate_test_steps` with that returned test case id and, as the scenario, the ordered human-readable steps from (a). Do NOT invent steps not present in the source test.Process files one at a time. After each file, briefly report the test cases created (title + id) before moving to the next.
6. Review and validate the imported test cases
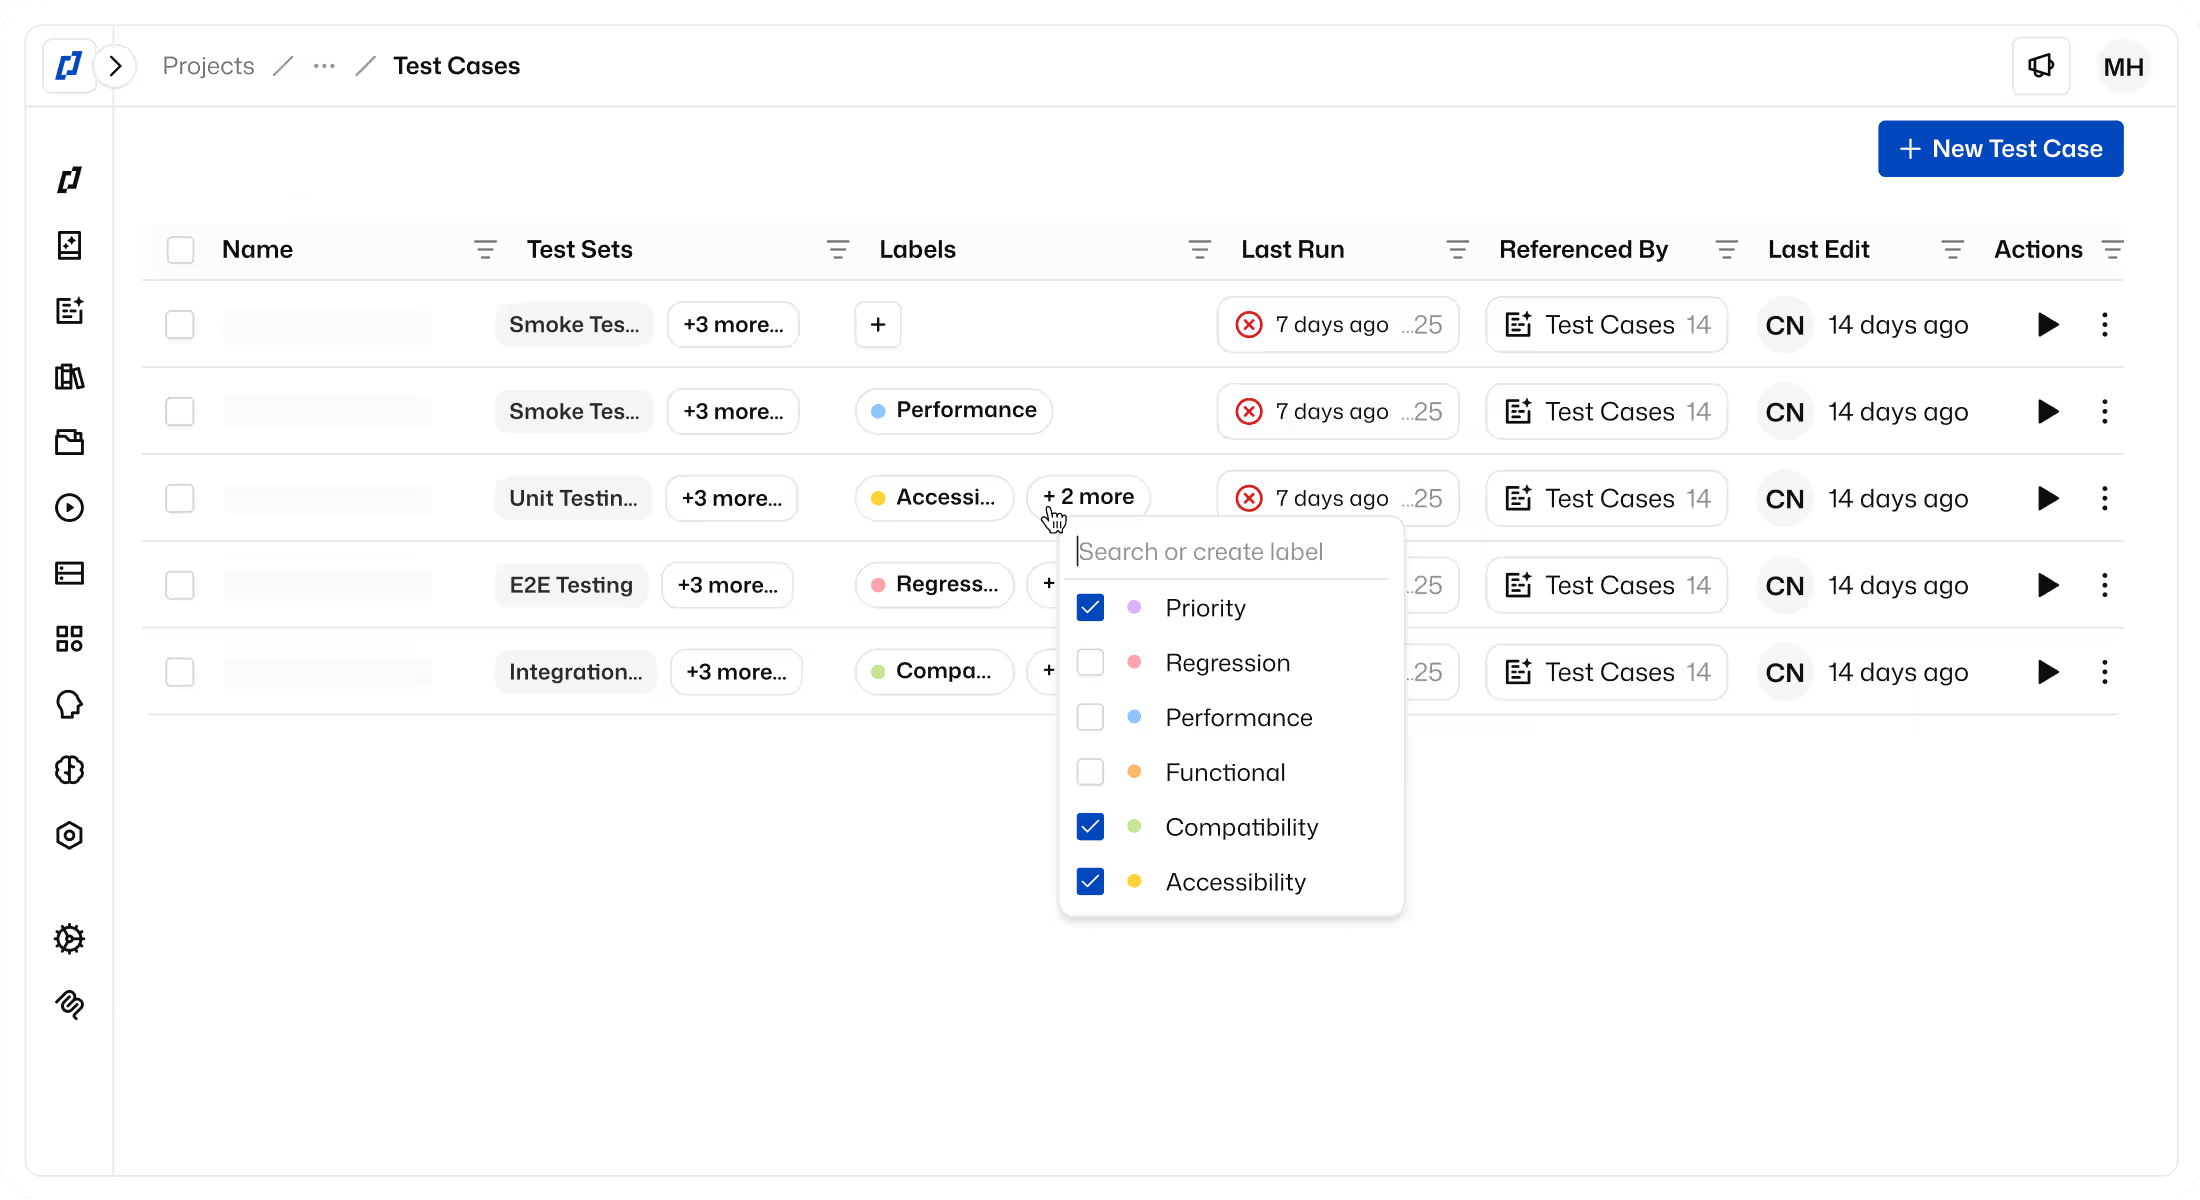
Open your Thunders project and review the generated test cases. Things to check:
- Step descriptions are readable and accurate.
- Relative URLs have the
<APP_URL>prefix applied consistently. - Test titles reflect what each test actually verifies.
Run a small batch first and fix structural issues before importing the rest of your suite.
Tips for large repos
When working with a large test suite, avoid running the import prompt on your entire repo at once: the AI's context window has limits, and mixing unrelated test areas can lead to inconsistent naming or missed steps. Instead, import tests folder by folder or feature by feature (for example e2e/auth/, then e2e/checkout/, then e2e/dashboard/). For each batch, run the prompt with the same project ID, review the generated test cases before moving on, and fix any structural issues early.
What's next
Once your tests are in Thunders, you can take them further: link them to different environments, run them as part of a pipeline, or invite teammates to contribute and maintain them. The import is just the starting point: the rest of your QA workflow can build from here.